Purging in Any Space
Teachers have hoards. Face it, you have something you don’t need. We all do. In this stage of cleaning and organizing you will have to make some tough decisions. It will be hard, but your future self is going to love teaching in your classroom when you get to this point.
Once you have deep cleaned an area, I recommend doing weekly maintenance cleaning for at least a couple of weeks before you begin to purge items in that area. While you are doing maintenance cleaning, you will naturally notice things you are not using or don’t even remember you have. You’ll begin to automatically make decisions to either start using them, or get rid of them. If that happens while you are cleaning, it is often helpful to just remove that item right away and be done with the stress that overcrowded storage spaces can bring. However, there are times when you need to dedicate some time just for this task. Remember, work in small chunks of time- 15 minutes- and only remove things from any given space that can be put away or taken away (trash/ recycle/ donate) in the same day.
For this task, I find it easier to work your way across this space, from side to side. Only remove items that you can put away. For you to work best in this stage, you should not be working around clutter. If you find that an area still has clutter and storage solutions have not been addressed, this is not the best time to dedicate your energy to purging. Stop and address the storage of the items that are still causing you headaches. If you truly are ready to purge, work in small areas.
Step 1: Look at the space as an entirety.
What do you notice right away? Do you have items that you no longer use or want? They are the first to go! That will make an impact right away. Do you have something you’ve had forever and it has become such a part of the background clutter that it’s just taking up space? Time to go! Stop after 15 minutes. If you have more time in your 15 minutes, move on to step 2.
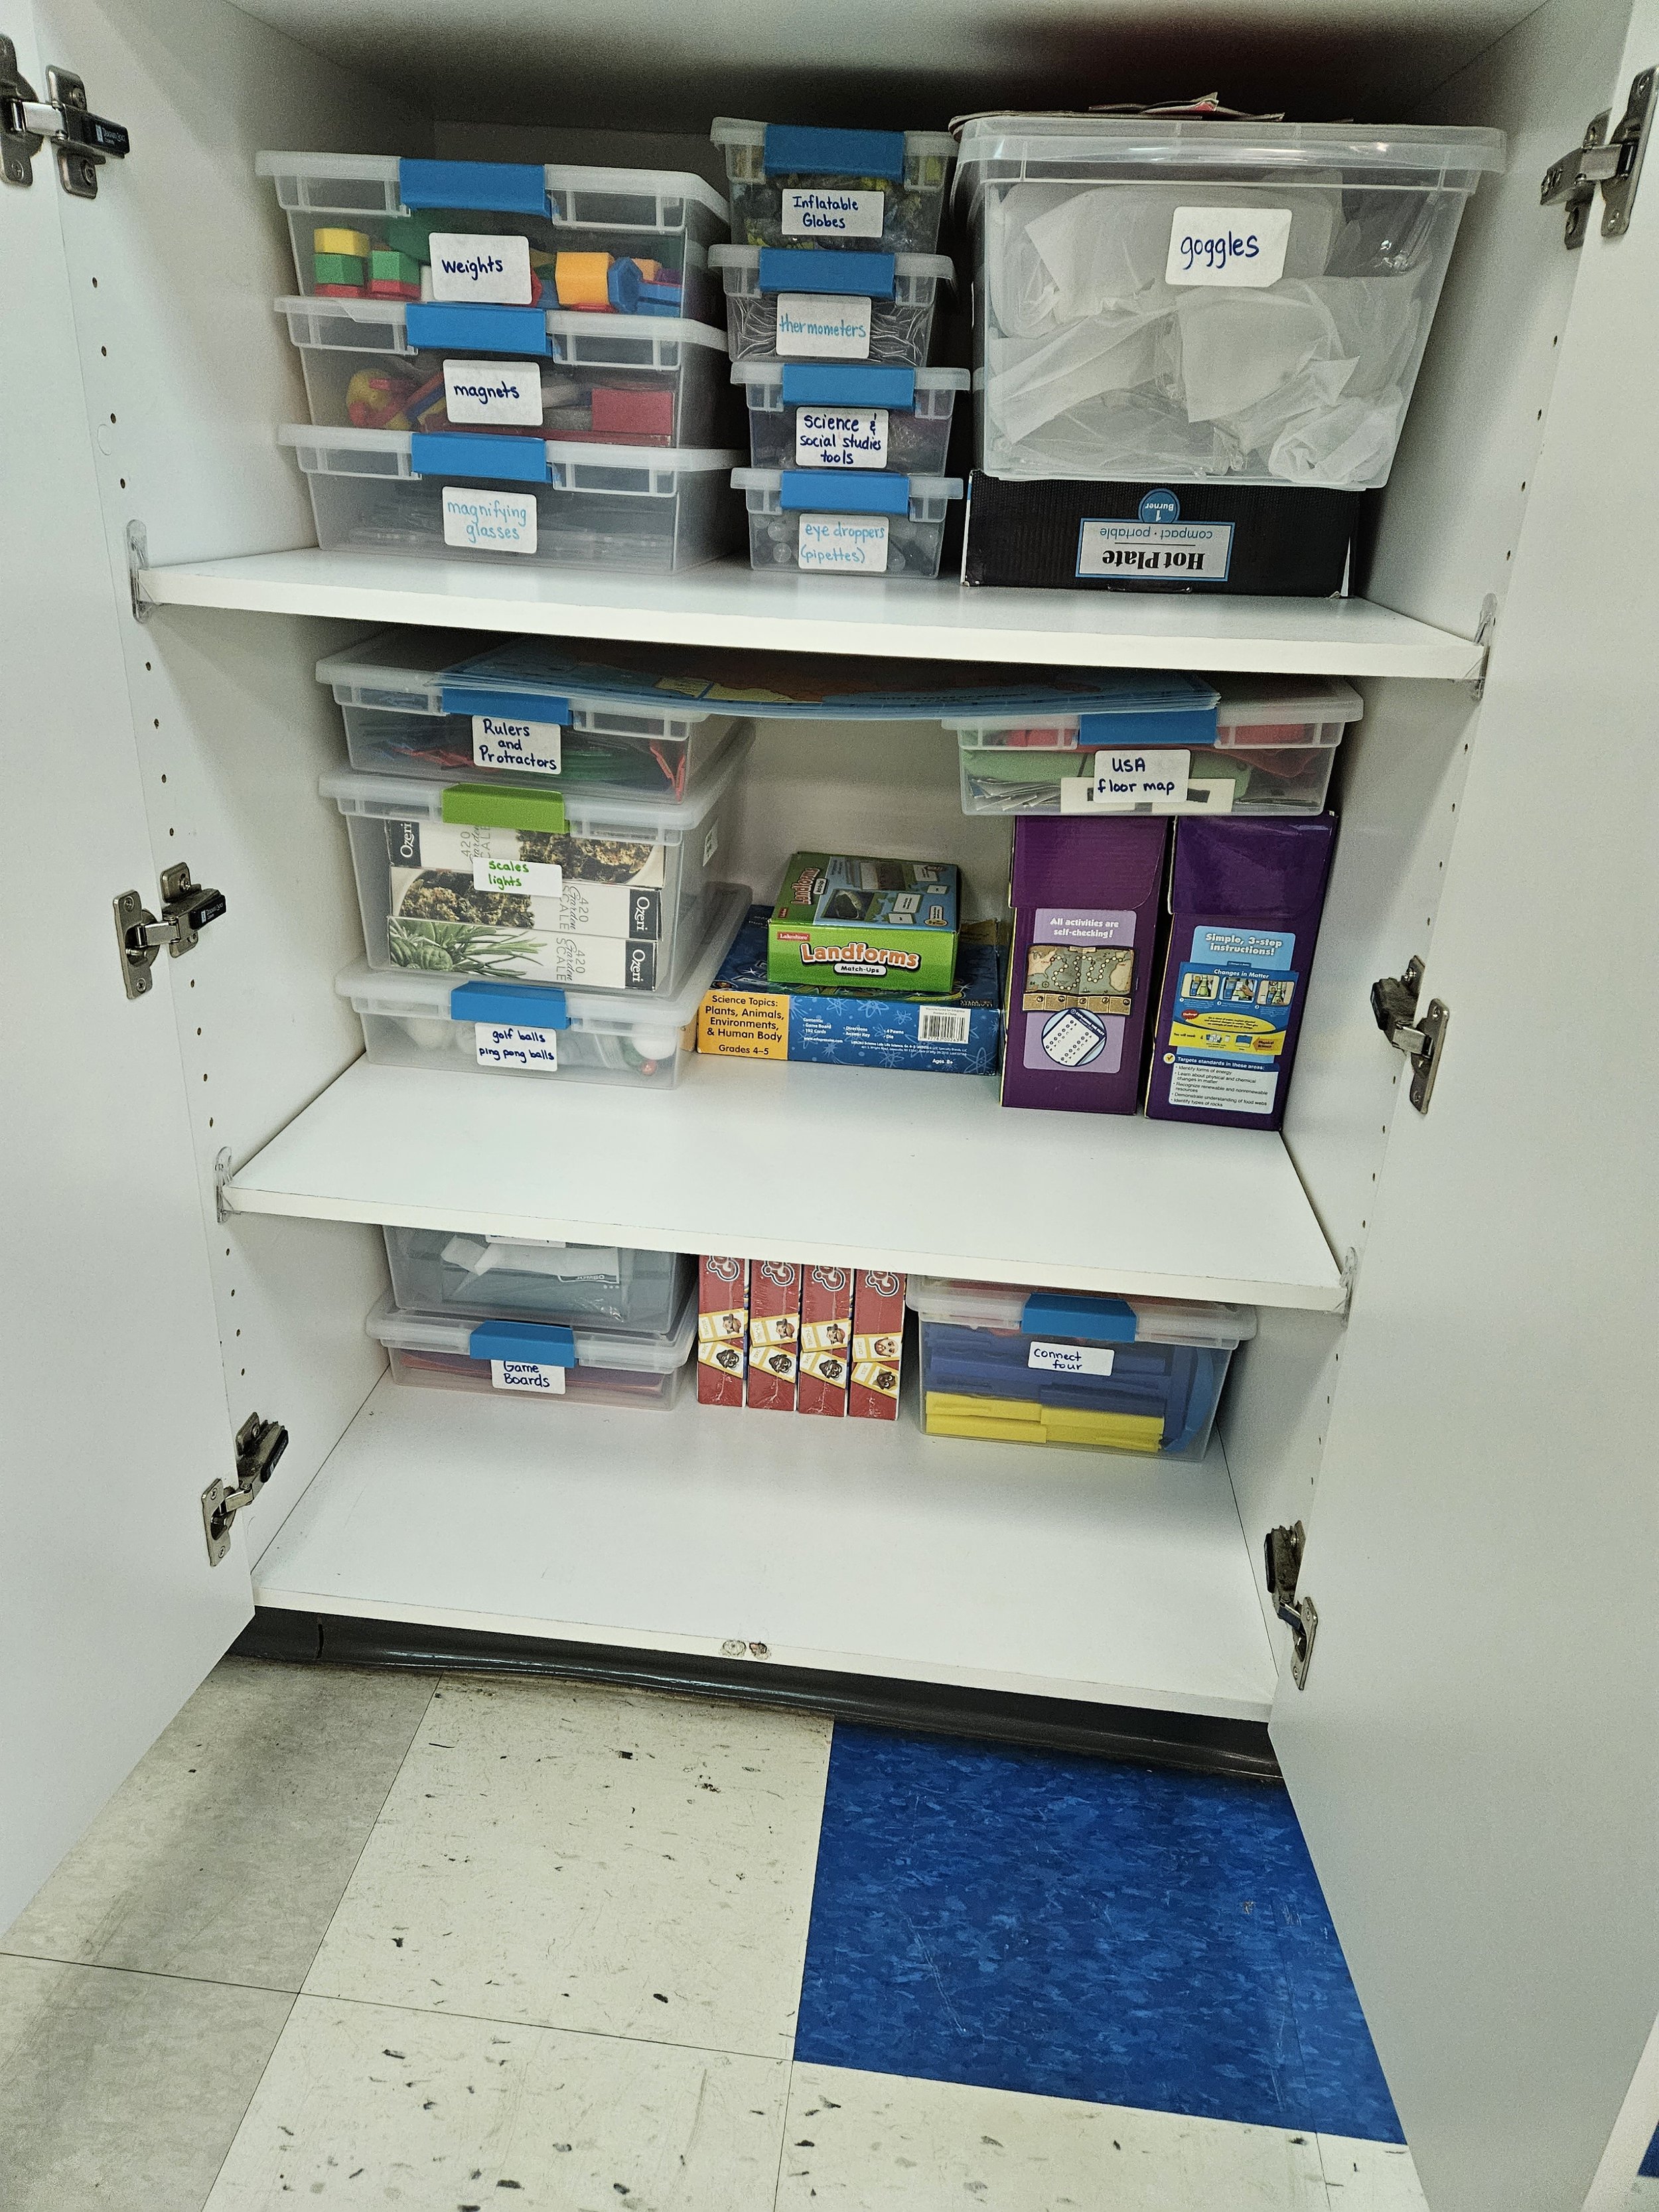
Step 2: Section off the area into smaller areas.
If you have shelves, address one level at a time. If you are working in cabinets, address one shelf section at a time. Touch, or even remove, each item in this area and think seriously about if you truly use it. Consider if it is in it’s best storage space. Should it be put back in this spot, or moved somewhere else? Can it be combined, or do you have too many things combined already? Would you use it more if it were in a different box or basket? You know your storage style the best, so go with what works for you. For more about storing items, read this post. Stop after 15 minutes. If you have more time, move on to step 3.
Step 3: Finalize the organization of the overall space.
This is a good time to adjust any labels on boxes: re-label boxes that got ruined. Add labels if they never had them in the first place. At this point, you want this space to be ultra-organized. Take the time to make it so functional that you can quickly find and put away any given item in this space in a minute or so. If this space is not there yet, continue to purge and organize it until you are. When you are finished with purging in an area, you are ready to start weekly maintenance cleaning in the area. Stop after 15 minutes. If you have more time, stop for the day and rest, or address something on one of your other to-do lists from the Getting Started week.
Want to see me complete this project? Find me on Patreon for access to my videos where I show you what it looks like to implement this system. Classroom Cleanup on Patreon