Deep Cleaning Any Space
When you have an area of your classroom that is already decluttered, it’s time to move into deep cleaning and organizing. It is perfectly reasonable to be in different stages in different areas. Perhaps area 1 is a total mess and are 3 is gorgeously organized. It makes sense that you will have this happen.
Step 1: Wipe down the horizontal surfaces with cleaning supplies of your choice.

Scrape off mystery messes. Get a magic eraser out and scrub pencil and pen marks. In this step, focus on all of the horizontal spaces in the area. If the cleaning staff at your school does not address the floor, you should. Clean up splatters! If you have cabinets or shelves, remove items and wipe down the surface under them. Wipe the tops of storage totes in this area, too. Stop after 15 minutes. If you have more time in your 15 minute time block, move on to the next step, stop and rest, or address an item on one of your to-do lists.
Step 2: Wipe down the vertical surfaces with cleaning supplies of your choice.
Scrape off mystery messes! Use a magic eraser where necessary. If you have furniture that is easy to move, pull it away from the wall and wipe down the wall behind it. While you’re at it, wipe down any cords that have gotten dusty behind the shelves. Only move what you can without packing up the whole thing! Some parts of the room will have to go untouched until the end of the school year. (Behind your large, heavy bookshelves for example). If you have cabinets in this space, wipe down the front and inside of each cabinet door. If your classroom door is in this space, wipe it down, too, and clean the glass while you’re at it. Clean off the sides of your trash cans and recycling bins. Stop after 15 minutes. If you have more time in your 15 minute time block, move on to the next step, stop and rest, or address an item on one of your to-do lists.
Step 3: Dust the decorative or oddly shaped items in this space.

Take the time to address the build up on each item so it looks fresh. Clean the glass of any picture frames in this area. Clean the leaves of plants if they are dusty and remove any dead ones. Stop after 15 minutes. If you have more time in your 15 minute time block, move on to the next step, stop and rest, or address an item on one of your to-do lists.

Step 4: Address storage and organization headaches.
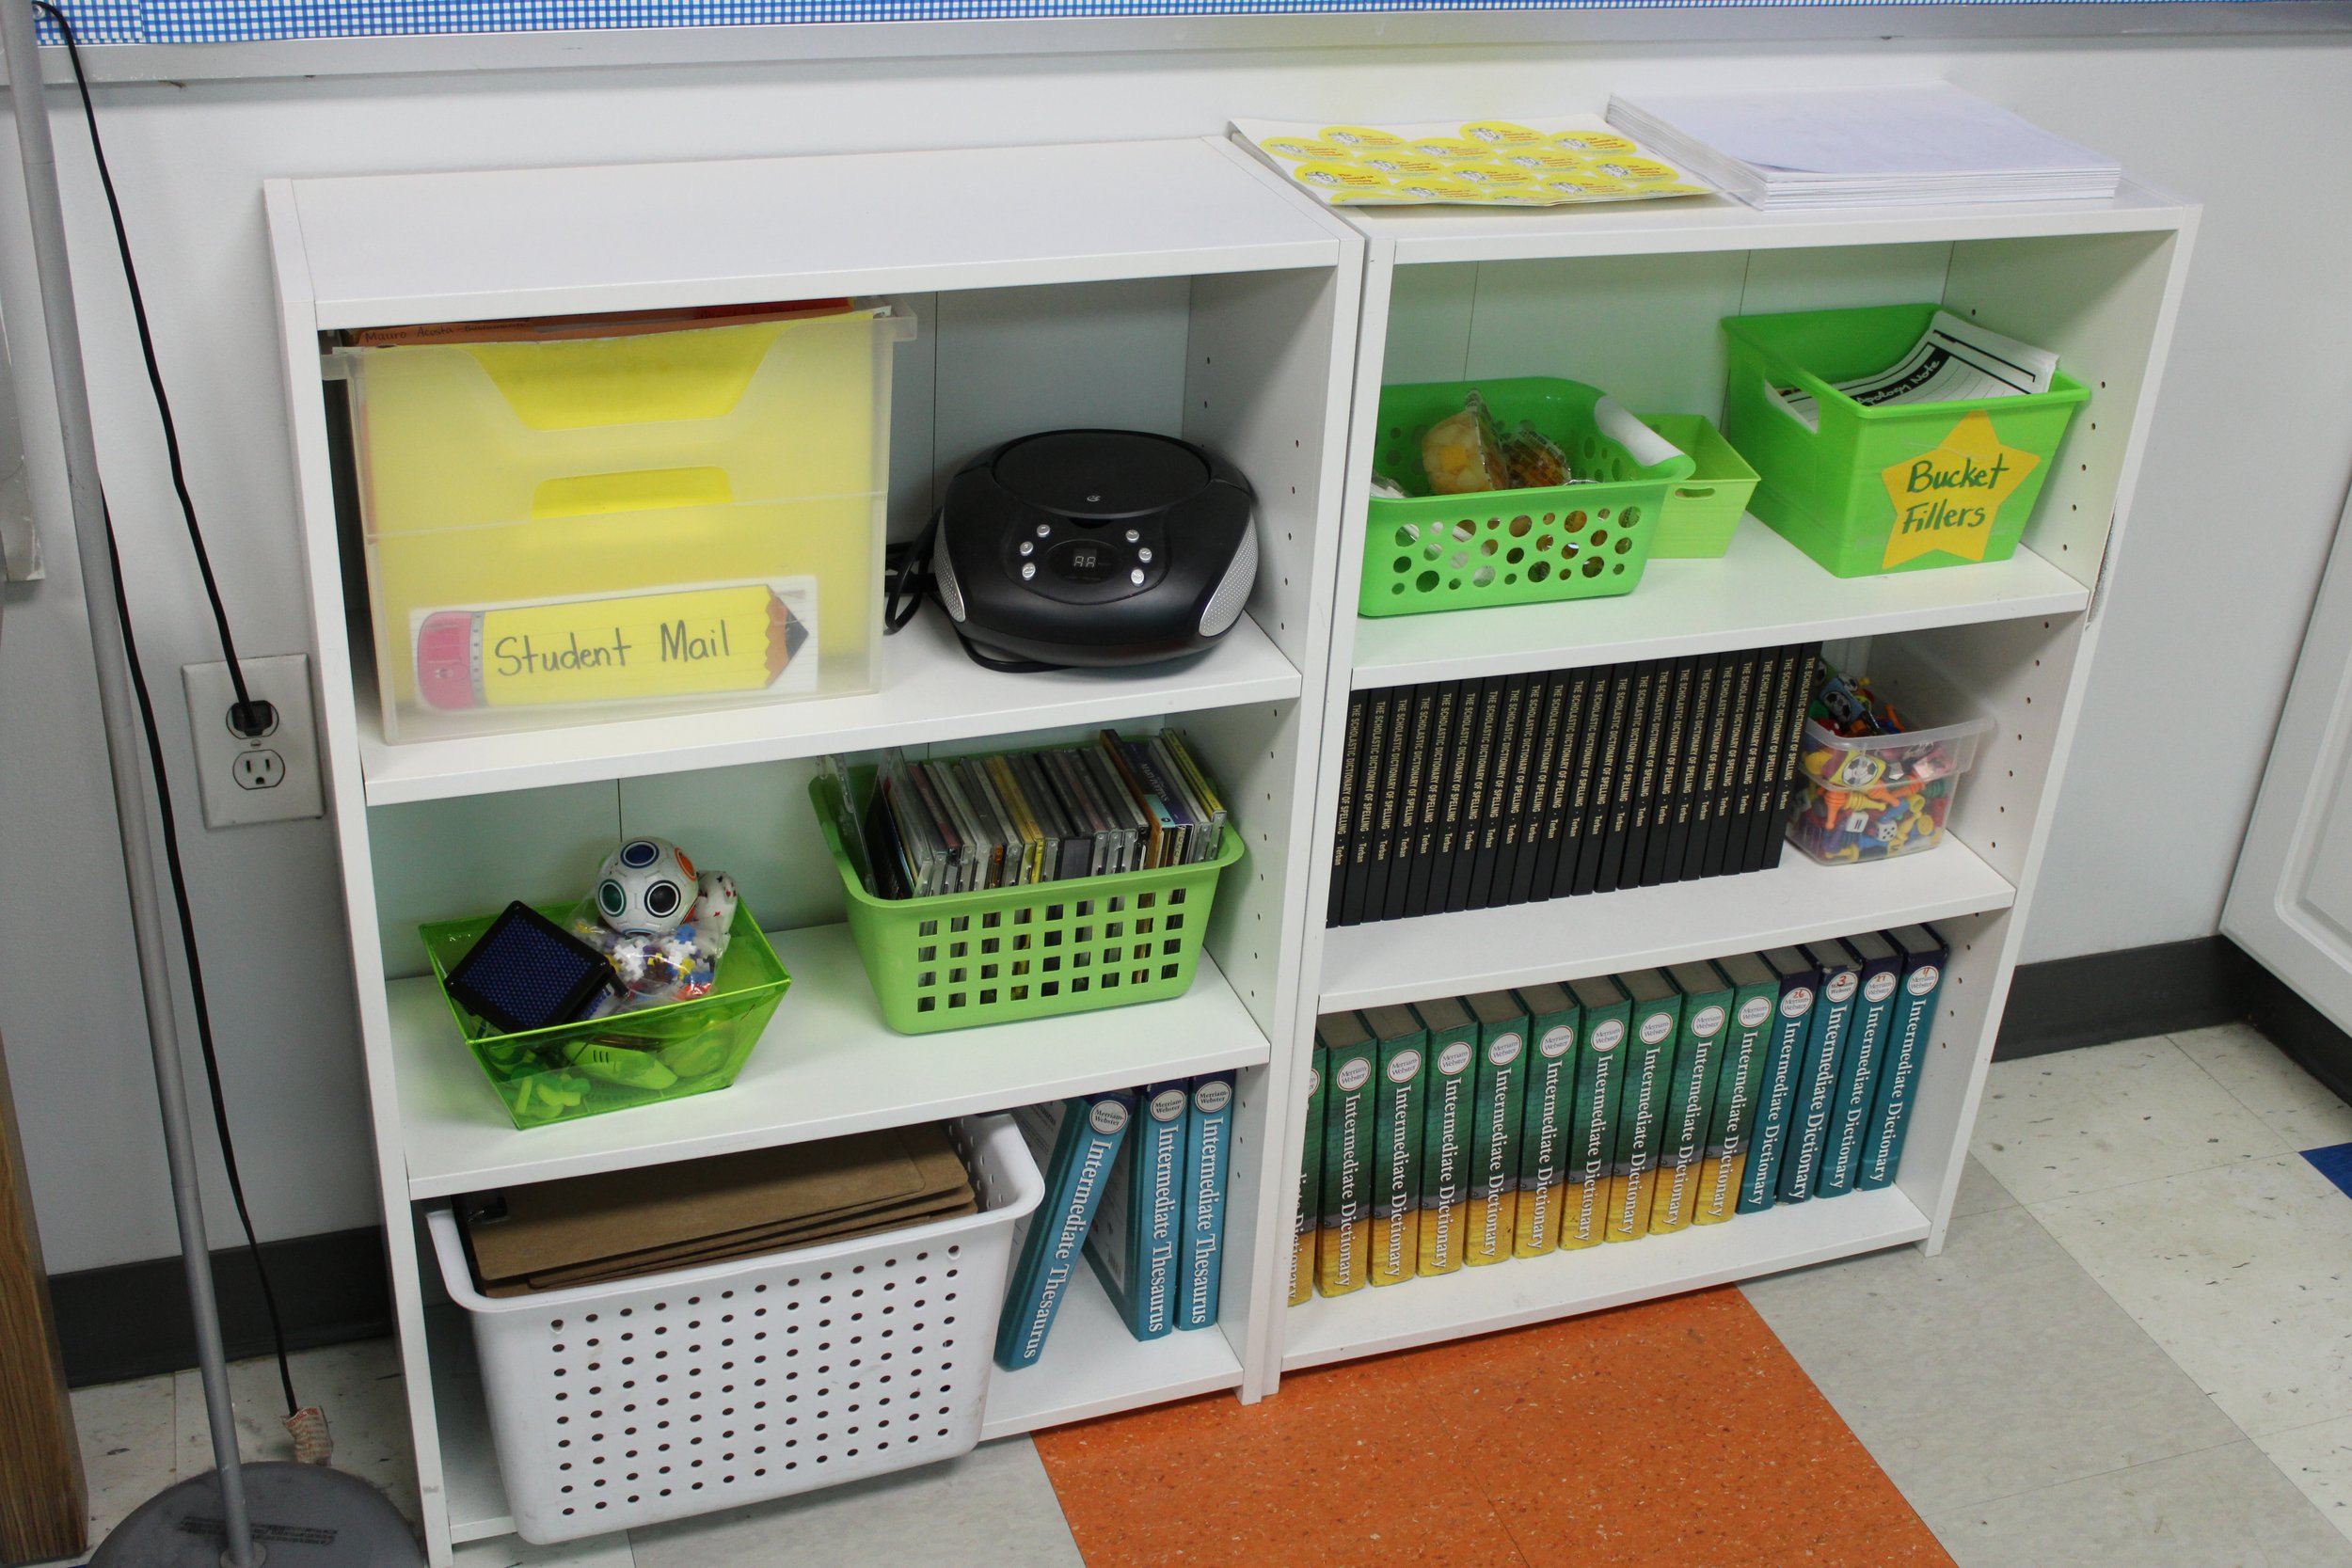
Sometimes this stage can take a while. Do not attempt this if the space is cluttered, or needs to be cleaned. It will only make you more frustrated. Once you have made it this far in the process, you will have items that need to be stored better. My preference is that everything (EVERYTHING.) fits in a box with lid, with few exceptions I will address later. I like boxes that can be stacked and not too big that they become heavy. Take the time in this step to clearly label the outside of every box. I label all four sides of my totes so it doesn’t matter which way I put it on the shelf. That small step made a huge impact on my organization. Stop after 15 minutes. If you have more time in your 15 minute time block, stop and rest, or address an item on one of your to-do lists.
Want to see me complete this project? Find me on Patreon for access to my videos where I show you what it looks like to implement this system. Classroom Cleanup on Patreon